Migrating Domain Controllers From Server 2008 R2 to Server 2012 R2
- Prepare the AD Schema for Server 2012 R2
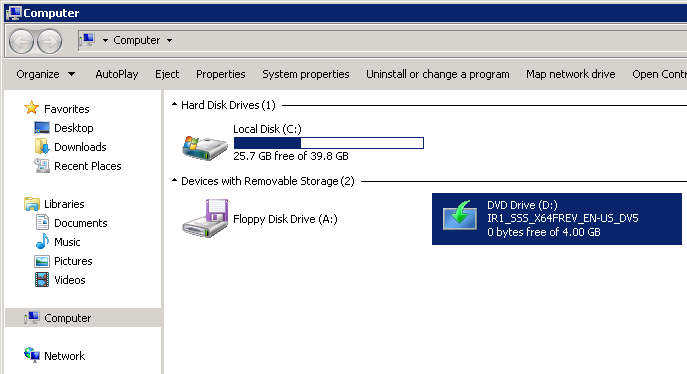
- Mount the Server 2012 R2 installation disk on one of your Domain Controllers

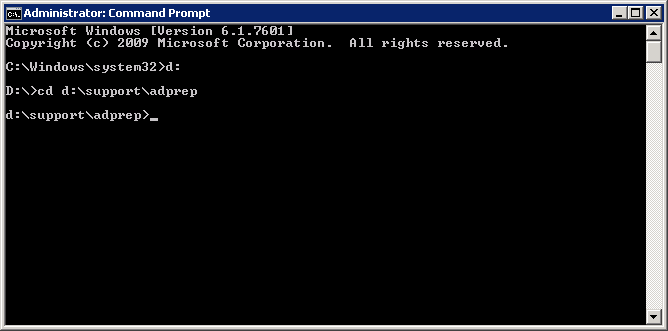
- Open up a command prompt with Administrative Privileges and navigate to the/support/adprep folder on the installation media.
- Click Start, type cmd, right click select Run as administrator

- Execute the command: d:
- Execute the command: cd d:\support\adprep

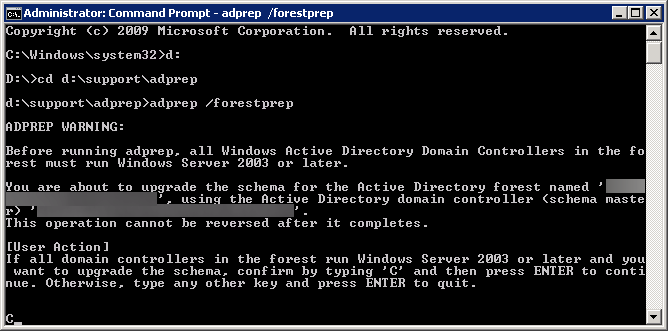
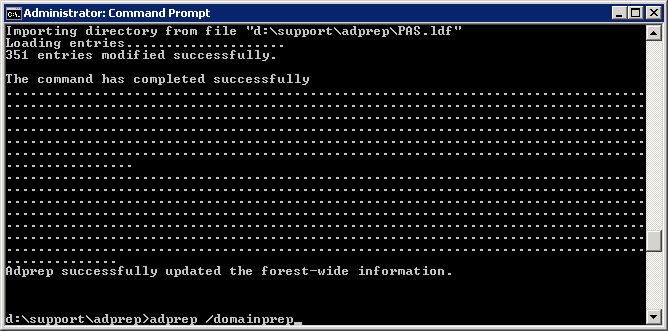
- Execute the following command (don’t close out of this until after we verify the schema version in an upcoming step):
- adprep /forestprep
- Type the letter C and press the enter key to begin the process


- Execute the following command:
- adprep /domainprep


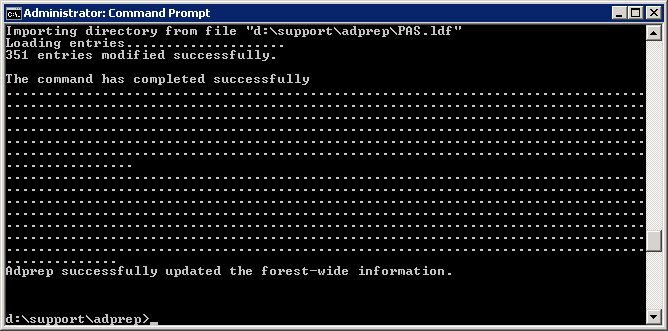
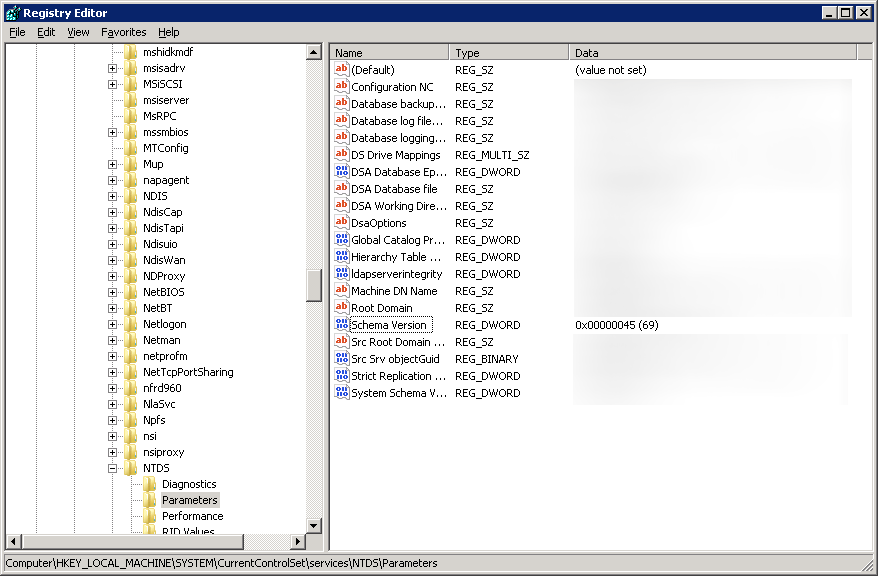
- Verify the schema version has been updated
- Click Start and search for regedit

- Open up regedit and navigate to Computer\HKEY_LOCAL_MACHINE\SYSTEM\CurrentControlSet\services\NTDS\Parameters
- Verify the Schema Version value matches the last entry shown in your upgrade results. In my case, the Schema Version should be 69.


- Demote and decommission secondary domain controller
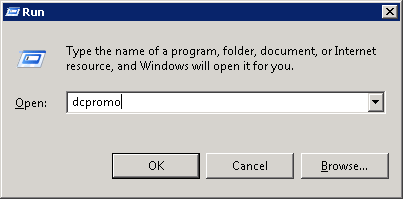
- Click Start, Run…

- Type dcpromo and click OK

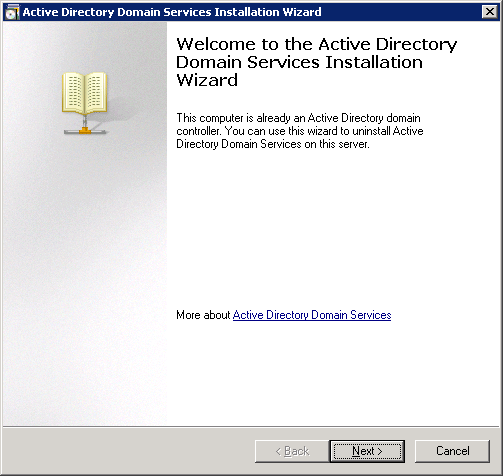
- Click Next > on the Welcome page

- If the domain controller has the global catalog service, make sure your primary DC also has the service enabled and click OK. This can be done by opening up Active Directory Sites and Services and viewing the services for each domain controller.

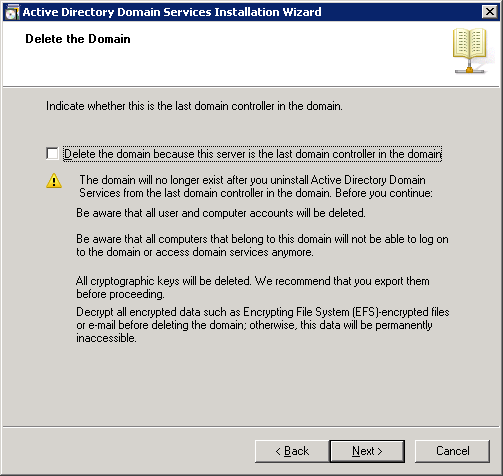
- Make sure the Delete this domain because this server is the last domain controller in the domain is UNCHECKED, and click Next >

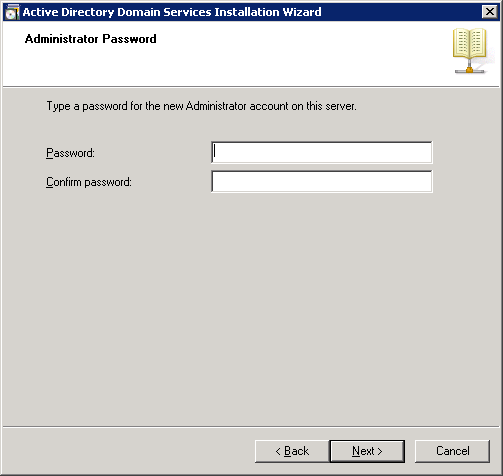
- Type in a new password to be used for the Local Administrator account the machine will contain after it is demoted.

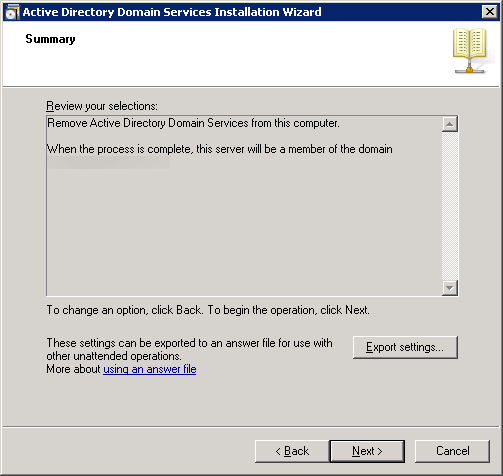
- Click Next > on the Summary page

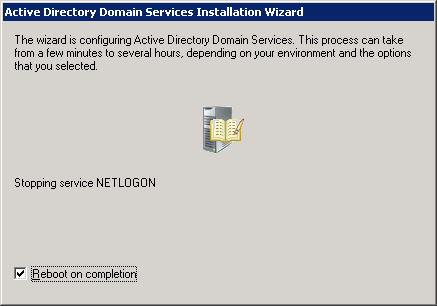
- Check the Reboot on completion box to restart the server after the service has been removed

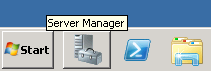
- Log back into the DC upon reboot and open up Server Manager

- In Roles Summary, click Remove Roles

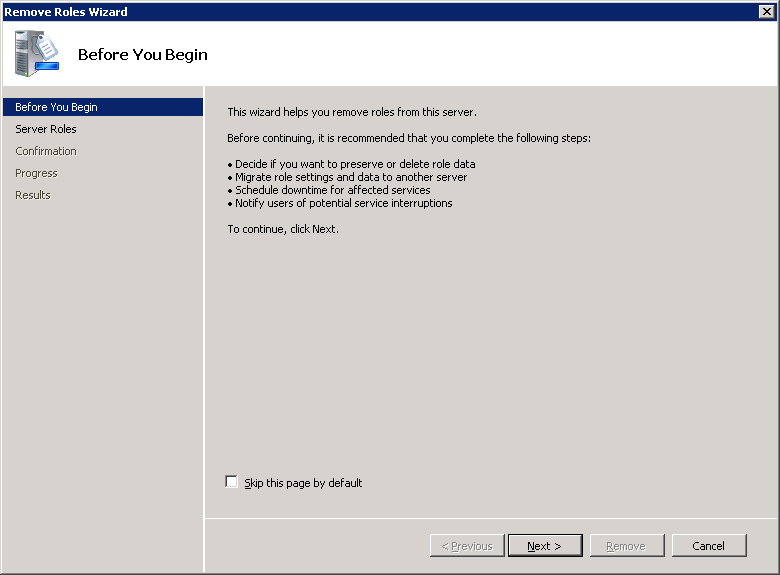
- Click Next > on the Before You Begin page

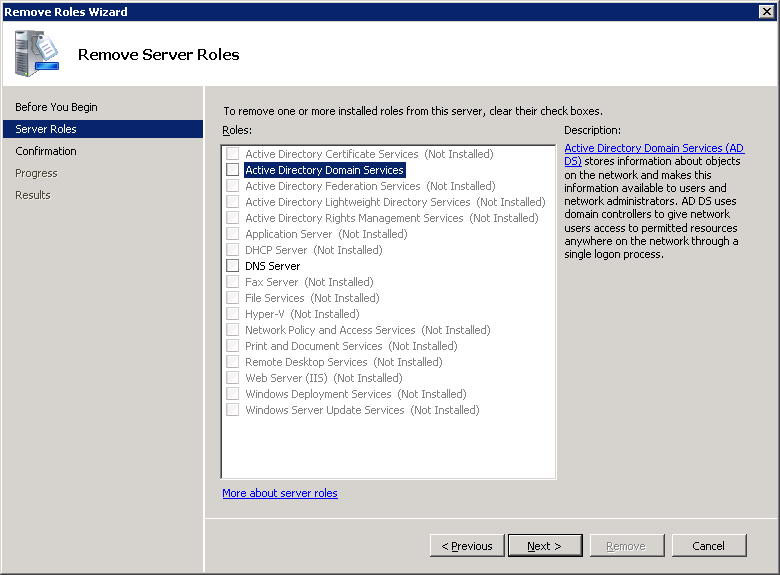
- Uncheck Active Directory Domain Services and DNS Server (if the role is installed) and click Next >

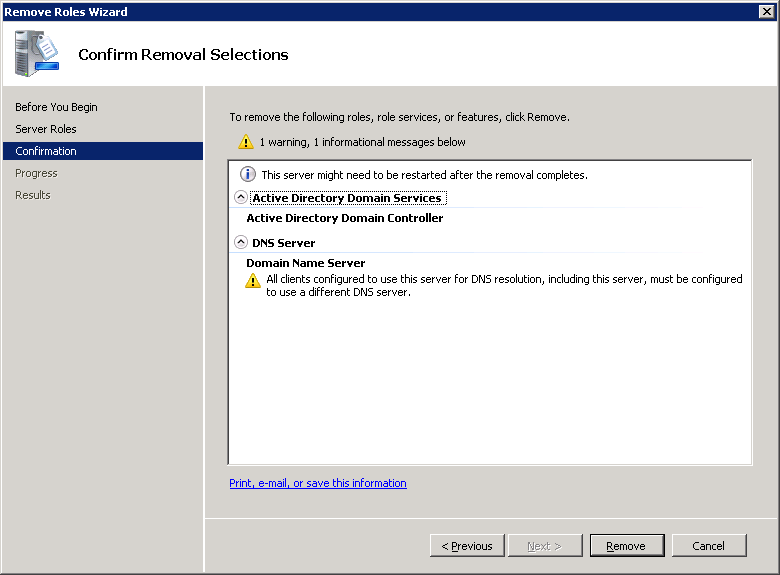
- Click Remove

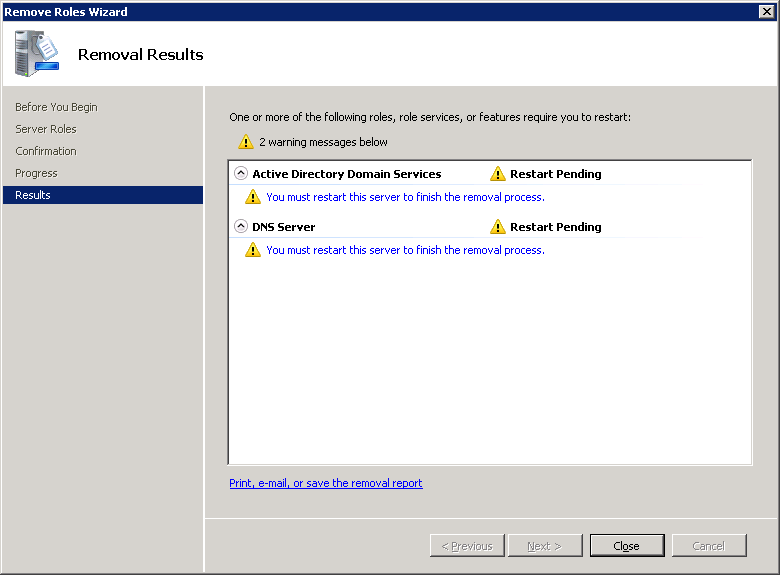
- Click Close

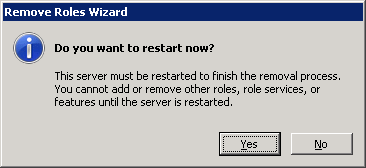
- Select Yes on the Do you want to restart now? dialog box

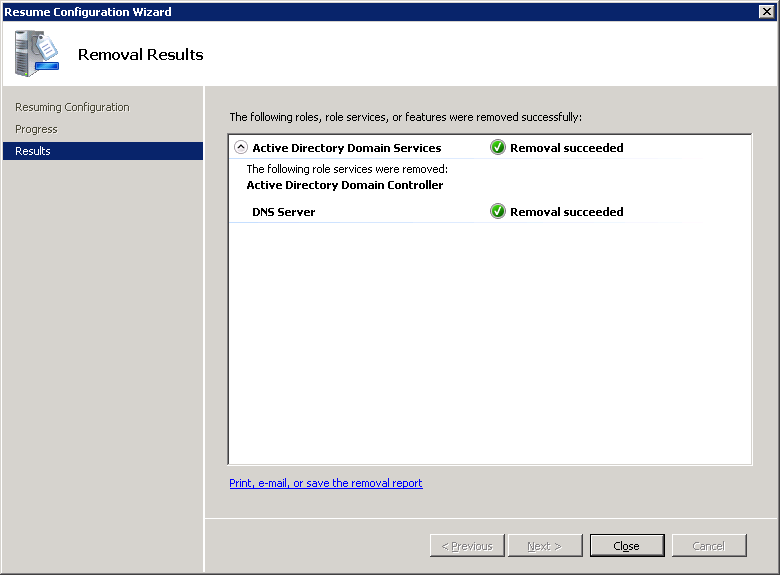
- Log back into the DC upon reboot and you should greeted by a Removal Results window. Let the process finish and select Close upon removal success.

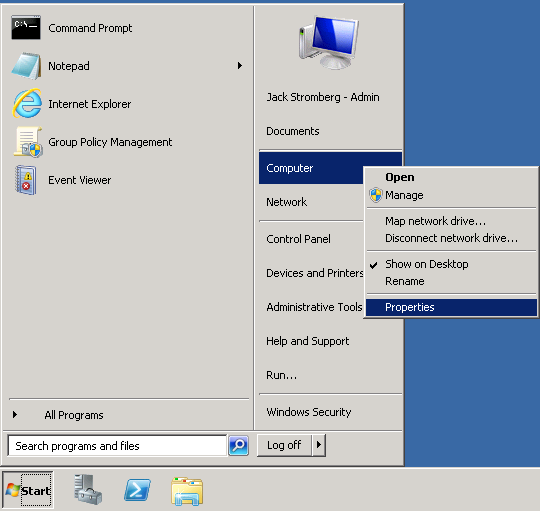
- Disjoin the machine from the domain
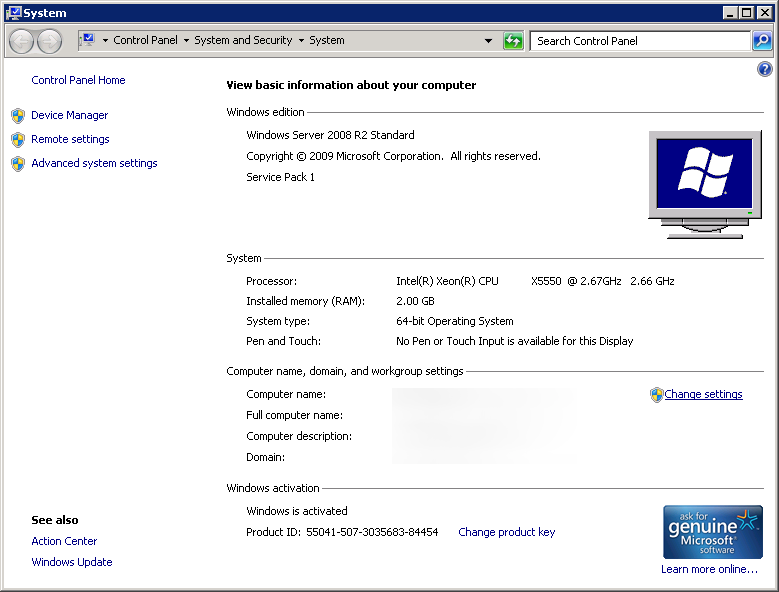
- Click Start, right click Computer, select Properties

- Click Change settings

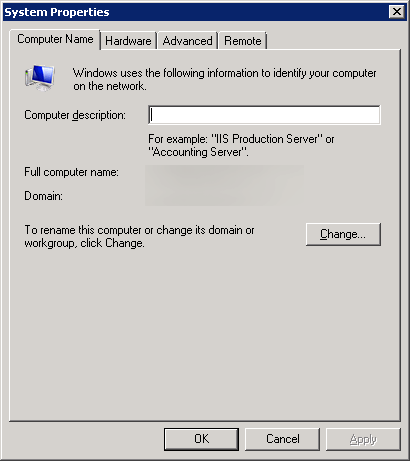
- Click Change… on the System Properties page

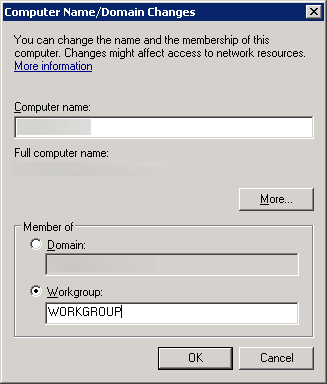
- Check Workgroup, type in a workgroup name, and click OK

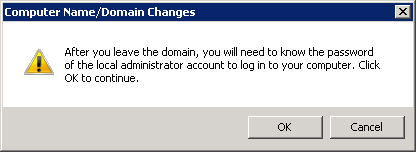
- Click OK on the warning dialog

- Click OK on the Welcome to the workgroup dialog

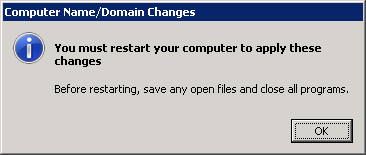
- Click OK on the restart dialog

- Click Close on the System Properties window
(oops, forgot to make a screenshot!)
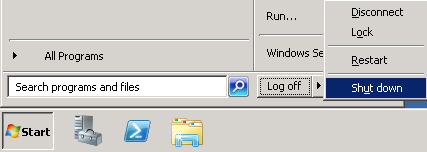
- Click Restart Later on the Microsoft Windows dialog box
- Shutdown the machine

- Format the decommissioned machine, reinstall a clean copy of Server 2012 R2, and join the machine to the domain.
- Add first Server 2012 R2 Domain Controller


- At this point, you should have one Server 2008 R2 Domain Controller and a blank Server 2012 R2 machine joined to the domain ready for the Active Directory services. If you are at this point, continue on, if not, you might want to read back a couple steps and see where things ventured off course.
- Start Server Manager on your new Server 2012 R2 machine.

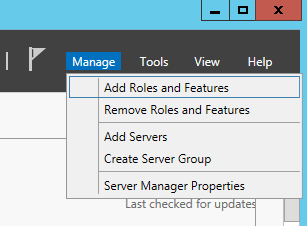
- Select Manage in the top right and select Add Roles and Features

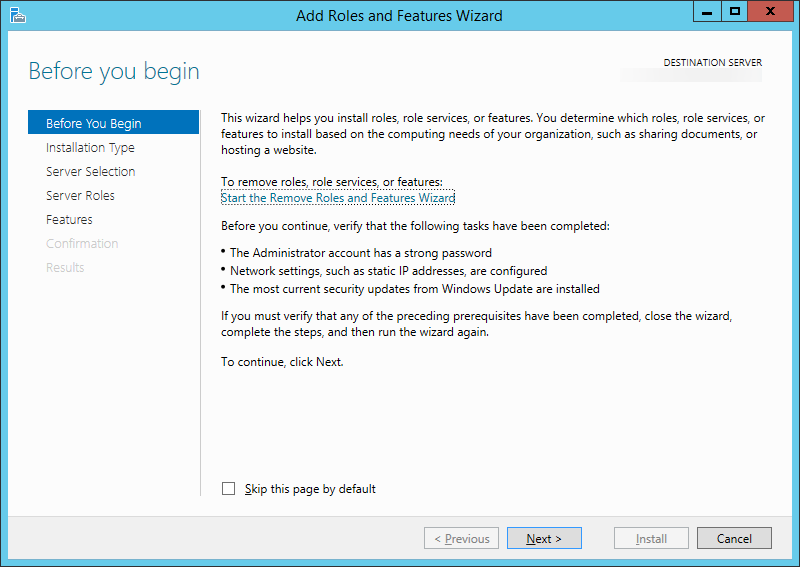
- Click Next > on the Before you begin screen

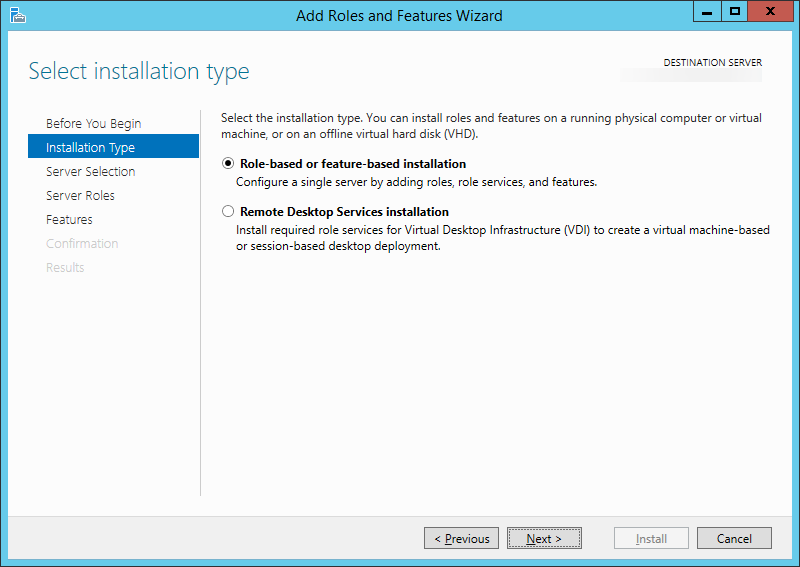
- Click Next > on the Select installation type screen

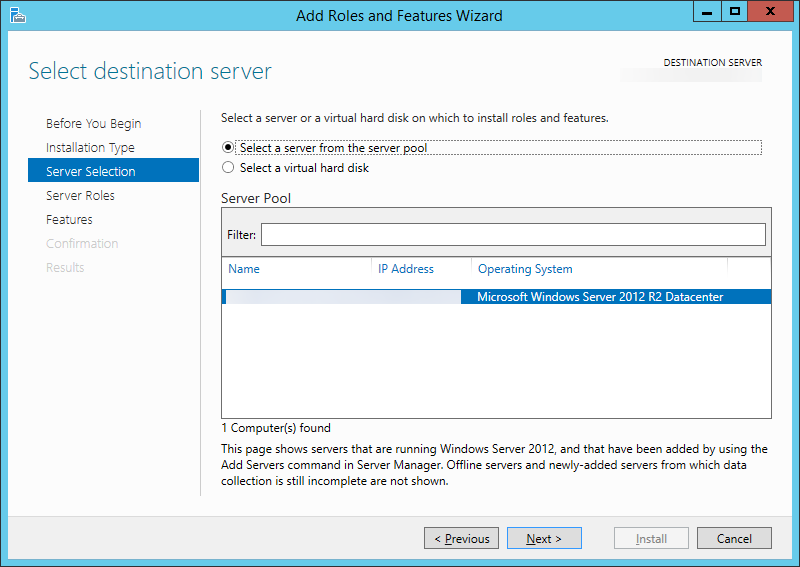
- Ensure your new server is selected and click Next >

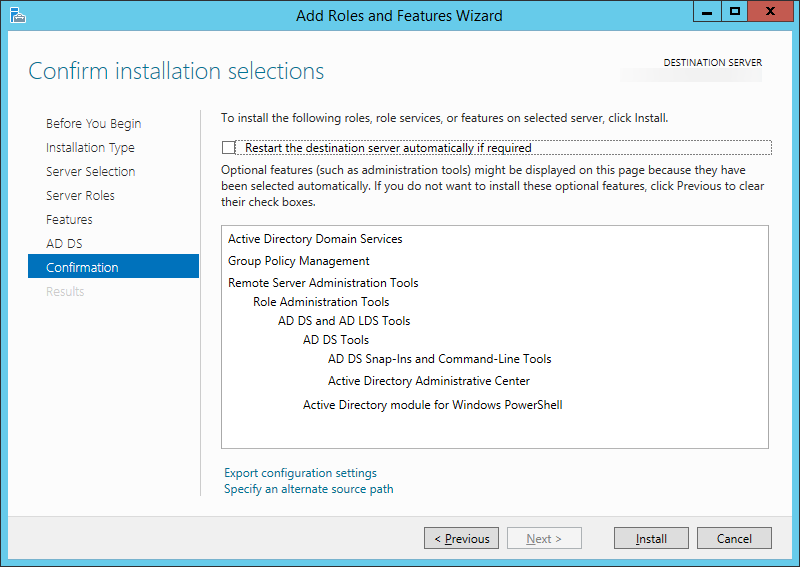
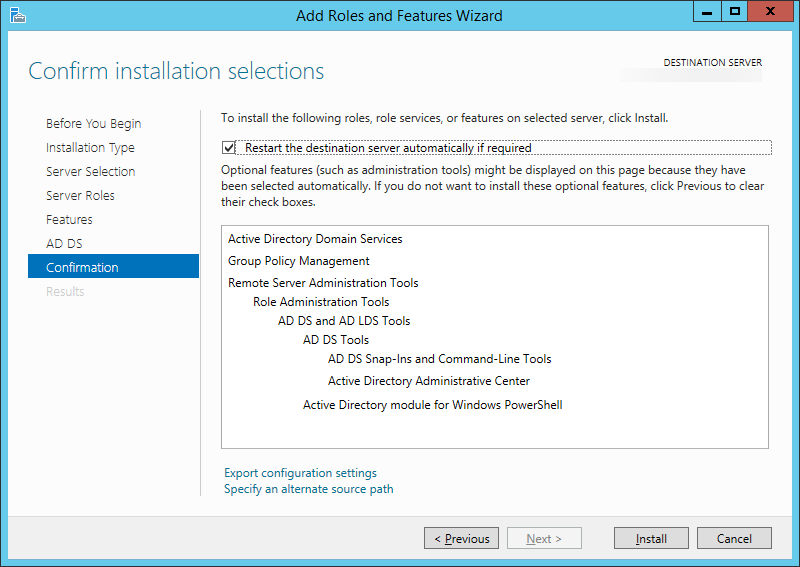
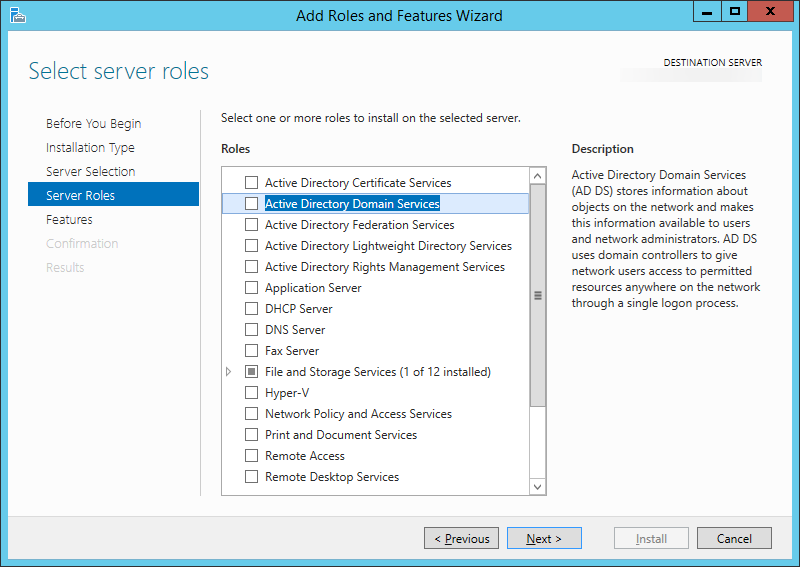
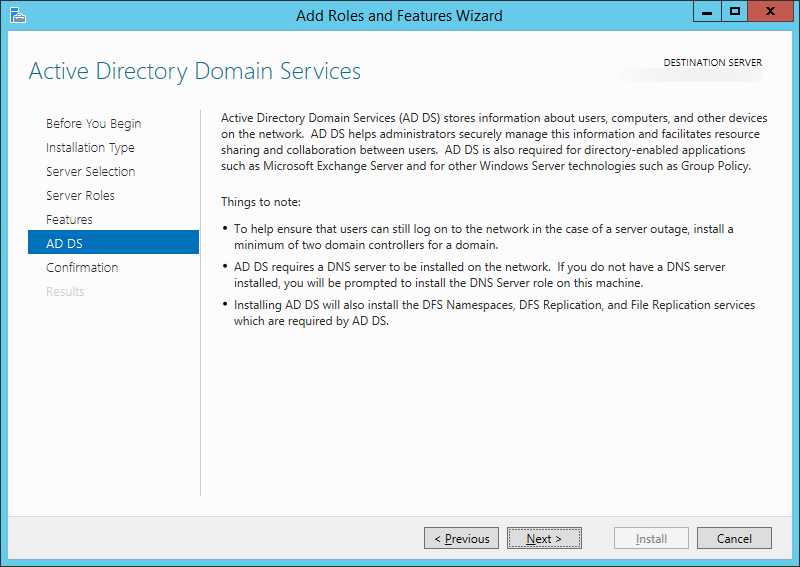
- Check the box next to Active Directory Domain Services

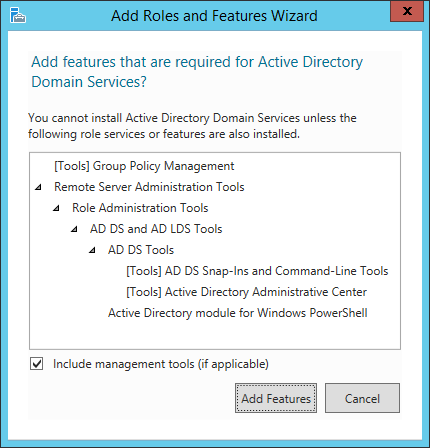
- On the Add features that are required for Active Directory Domain Services? dialog, click the Add Features button

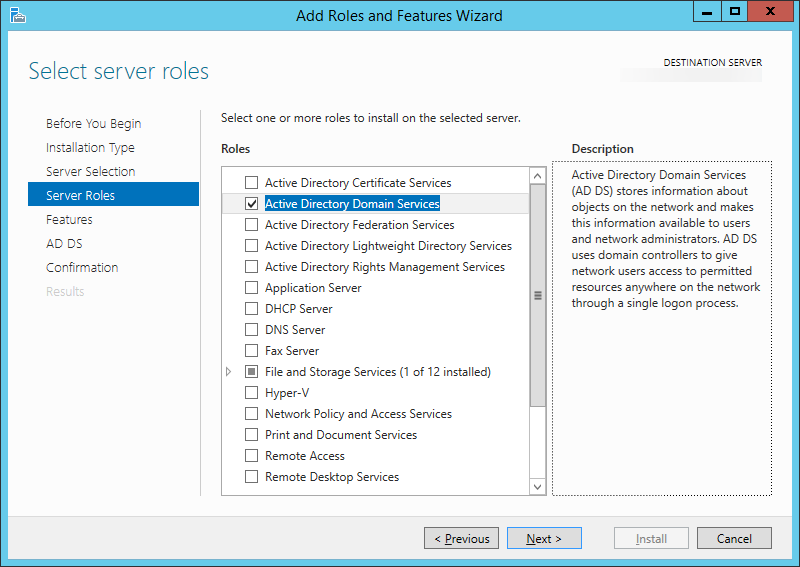
- Click Next >

- Click Next >

- Check the box that says Restart the destination server automatically if required(Click Yes on the restart dialog if it pops up)
- Click the Install button
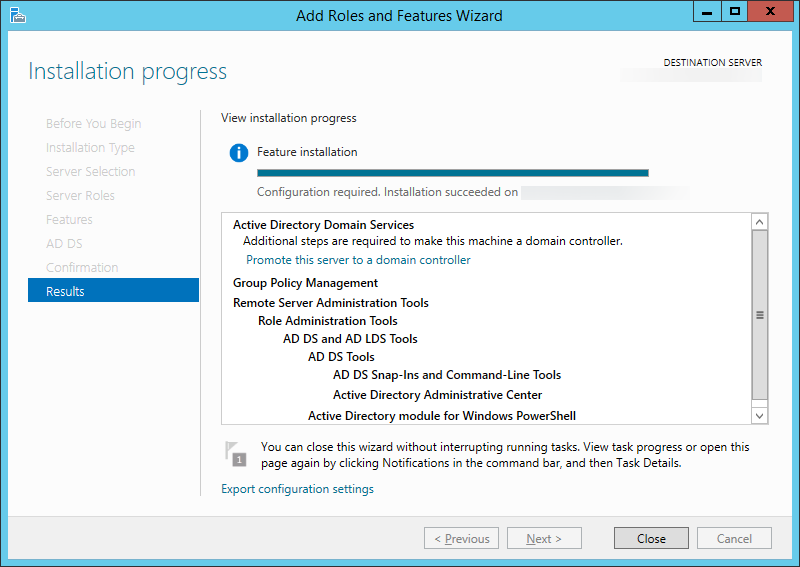
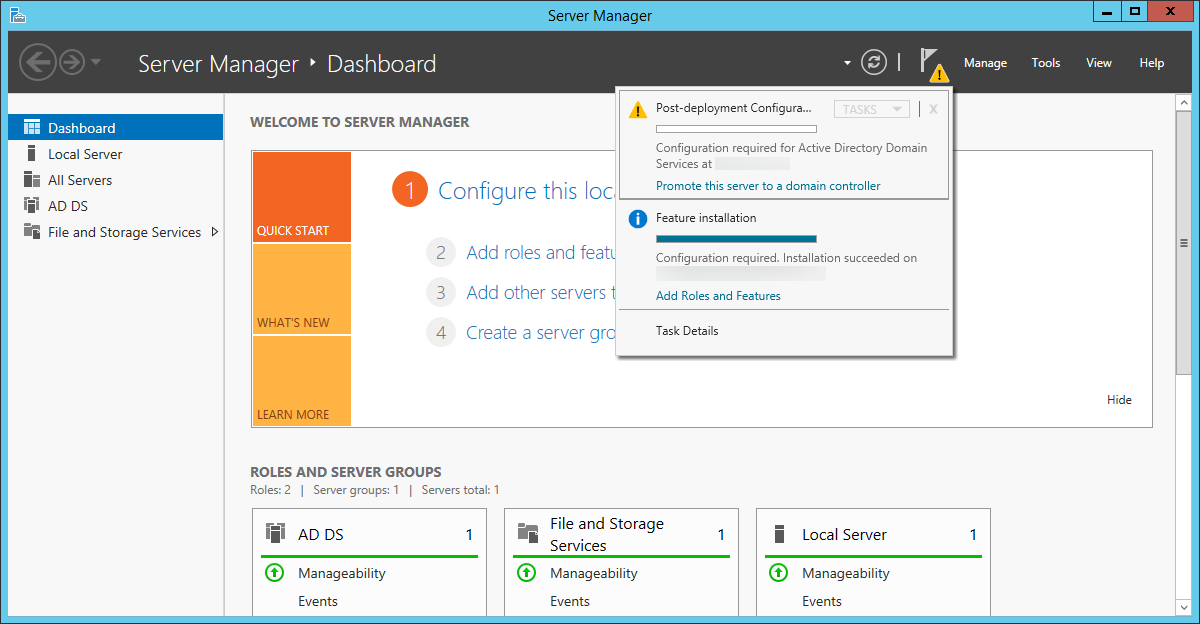
- Once the install is done, click the Close button
- Next, head back to the Server Manager screen and select the warning icon with the flag; then select Promote this server to a domain controller.

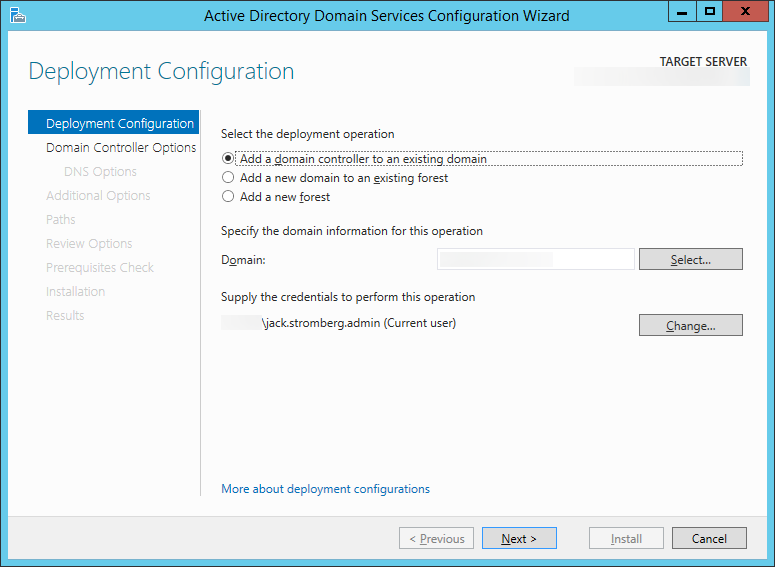
- On the Deployment Configuration page, make sure Add a domain controller to an existing domain is checked and hit Next >

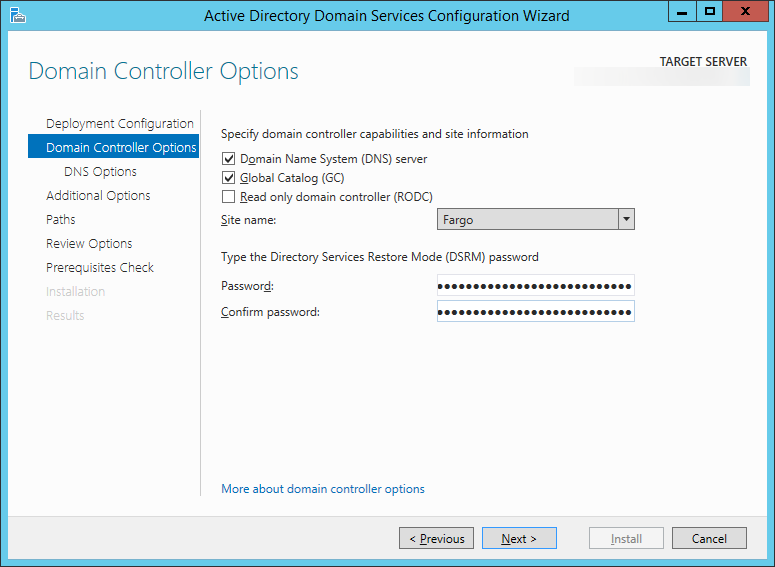
- Check Domain Name System (DNS) server, Check Global Catalog (GC), anduncheck Read only domain controller (RODC). Enter a strong password to be used to access Directory Services Restore Mode and click Next >

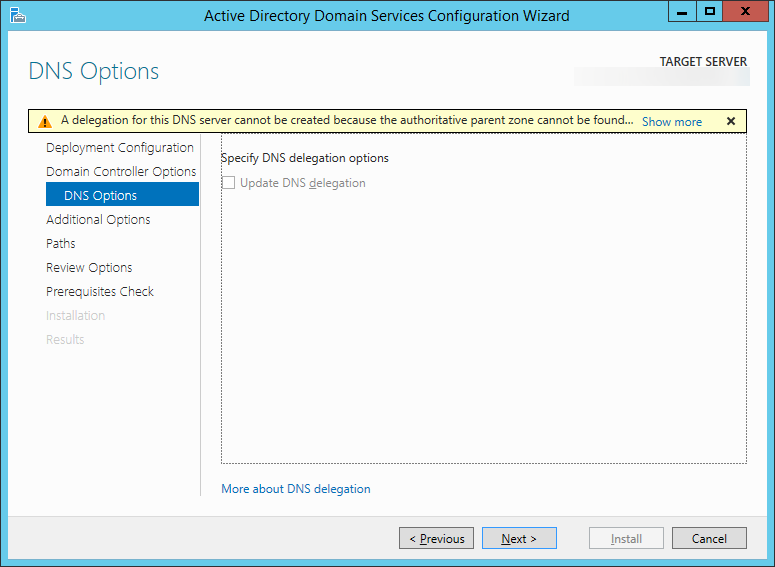
- Click Next > on the DNS Options page

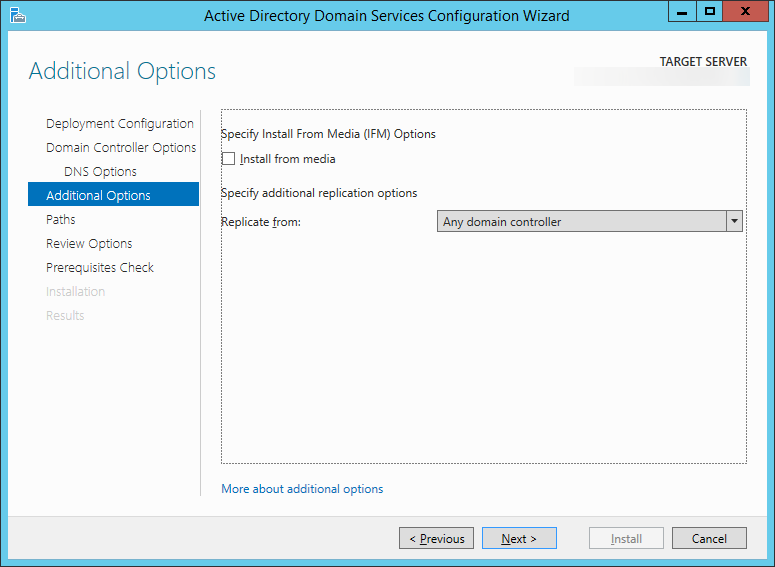
- Click Next > on the Additional Options page, or if you would like, you can manually select a domain controller to replicate data from and then hit Next >.

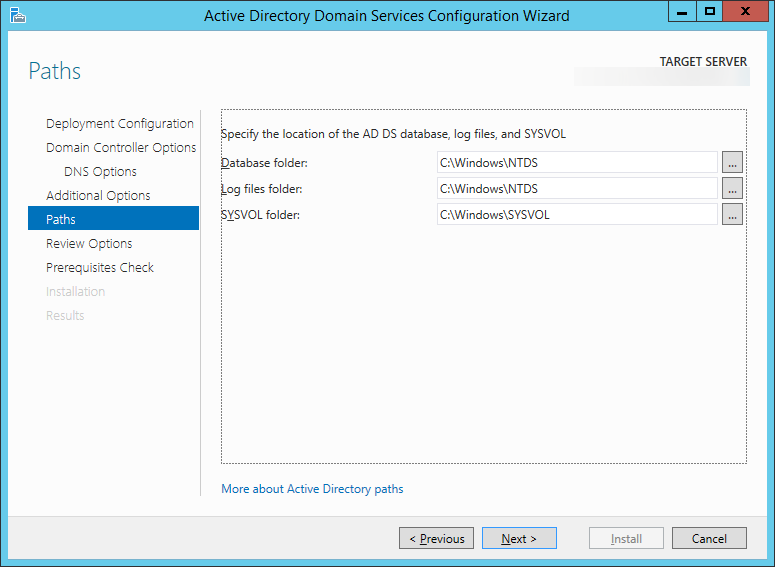
- Click Next > on the Paths page

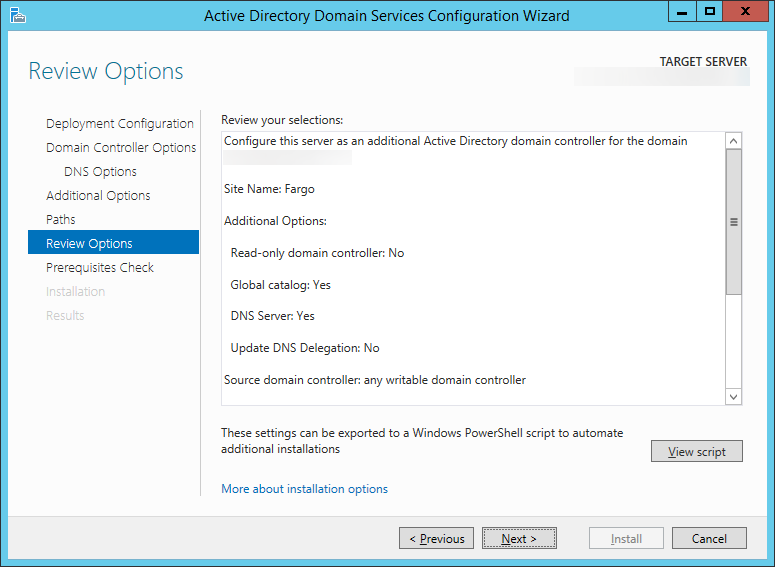
- Click Next > on the Review Options page

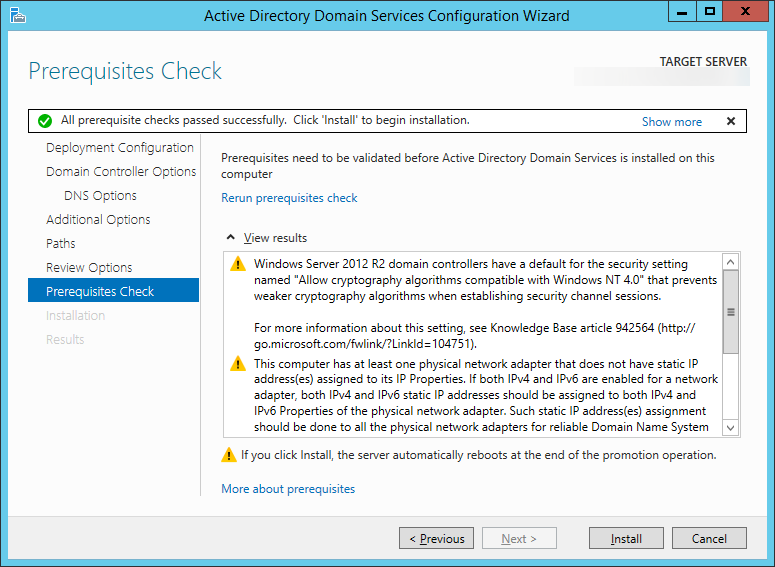
- Click Install on the Prerequisites Check page

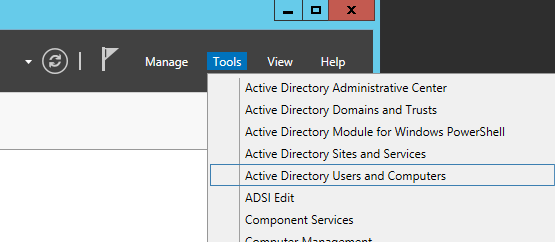
- Once the domain controller reboots after installation, open up Server Managerand select Tools, Active Directory Users and Computers

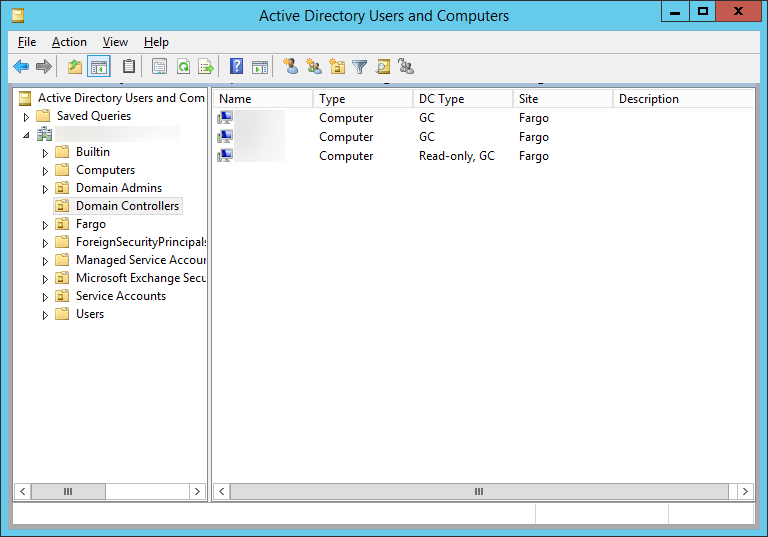
- Expand your Domain and select Domain Controllers; ensure your new machine shows up here.

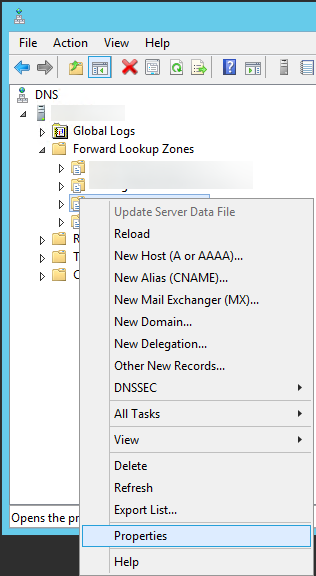
- Next, verify DNS works properly
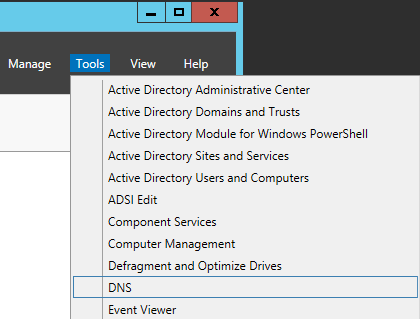
- Go back to Server Manager, select Tools, DNS

- Expand your server, Forward Lookup Zones, and right click on your domain name and select Properties

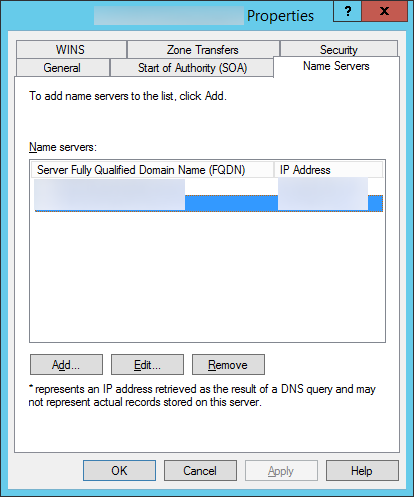
- Select the Name Servers tab and ensure all DCs are listed

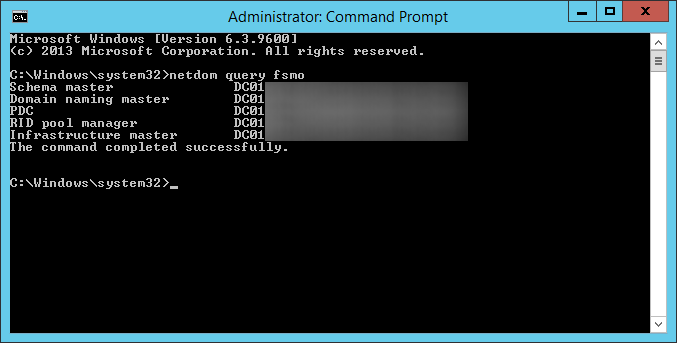
- Next, we need to verify the FSMO (Flexible Single Master Operations) roles are stored on our other server 2008 DC
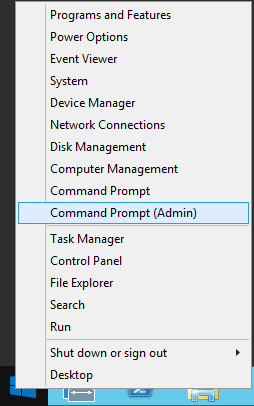
- On the new Server 2012 R2 DC we joined, open up a command prompt with administrative privileges.

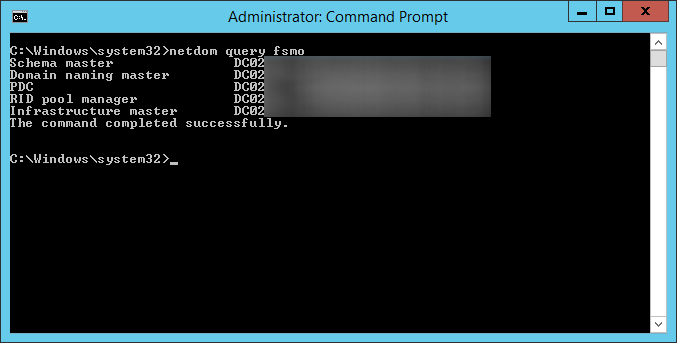
- Execute the following command to verify FSMO roles are on our 2008 DC:
netdom query fsmo

- Next, we need to transfer the FSMO roles from our primary DC to our new one
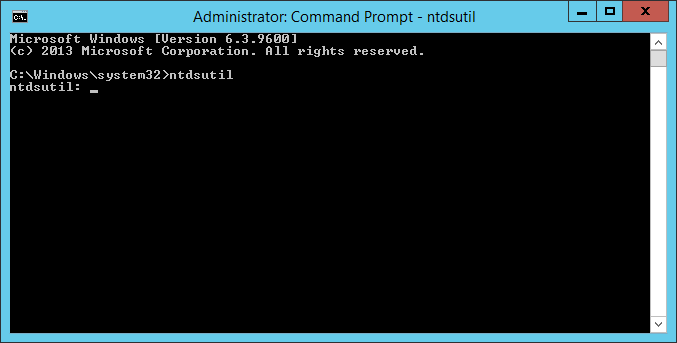
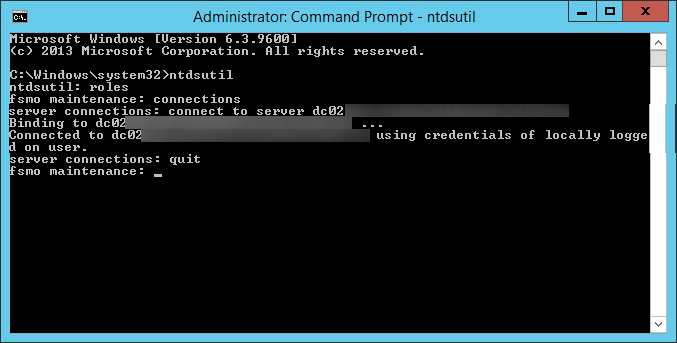
- Execute the following command using the same command prompt in the previous steps: ntdsutil

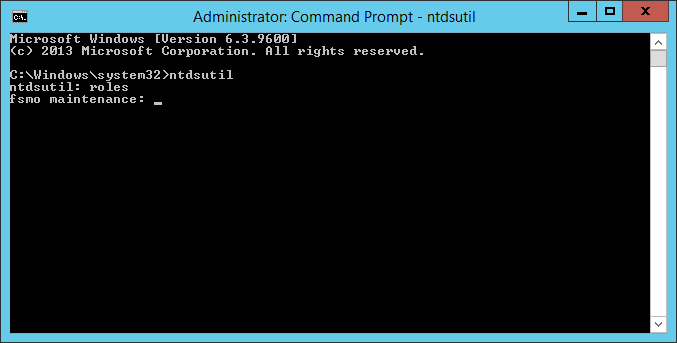
- Type roles when prompted and hit enter

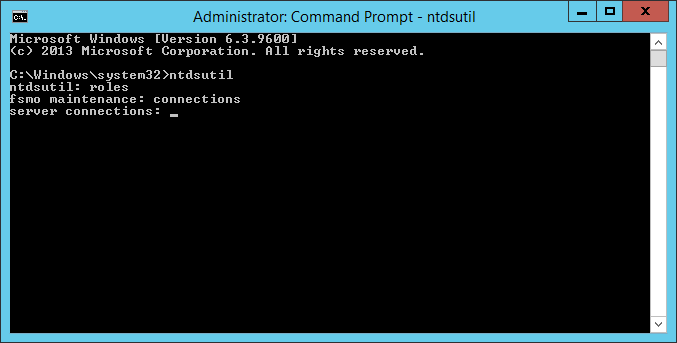
- Type connections when prompted and hit enter

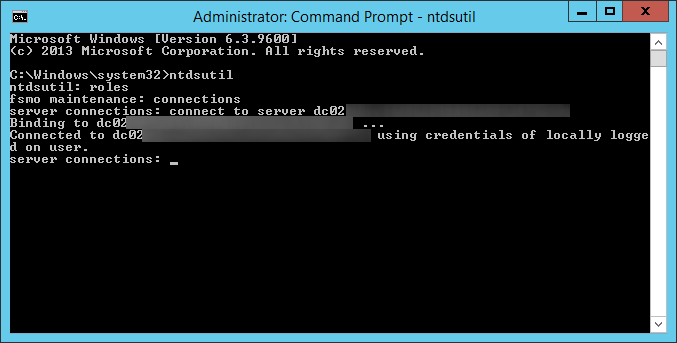
- Type connect to server server2012DC.mydomain.com, where server2012DC is the new DC we just deployed, when prompted and hit enter

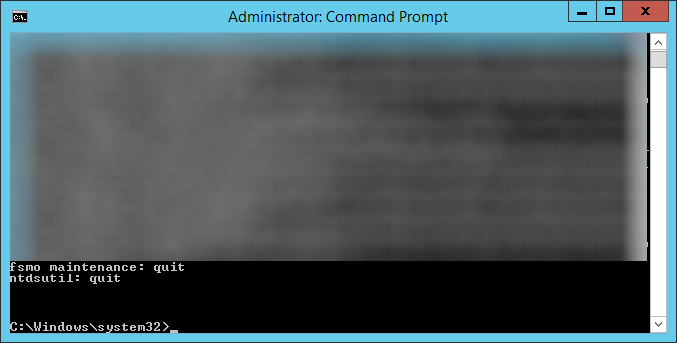
- Type quit and hit enter

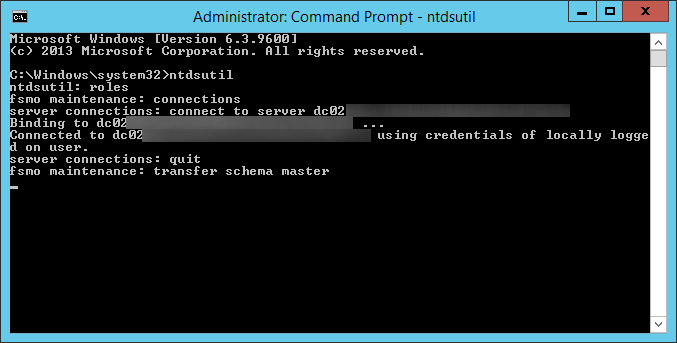
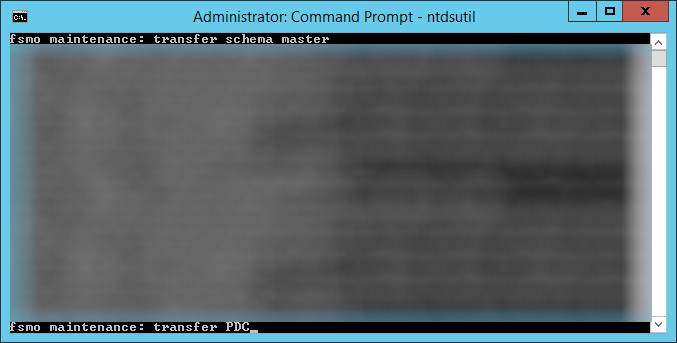
- Type transfer schema master and hit enter

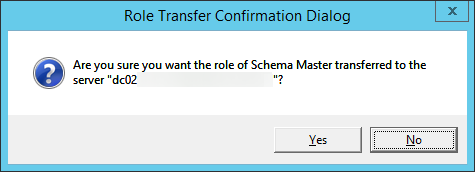
- Click Yes on the Role Transfer Dialog for the Schema Master role

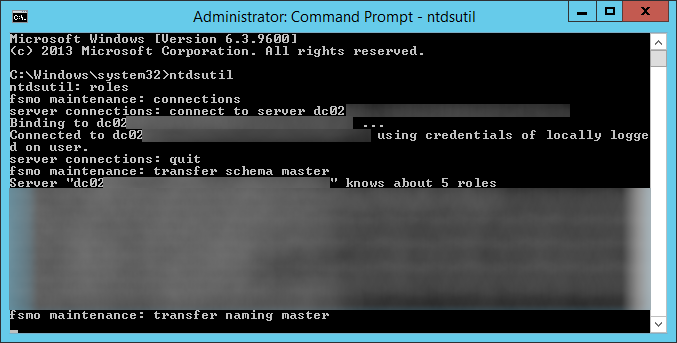
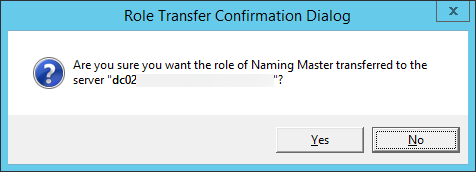
- Type transfer naming master and hit enter

- Click Yes on the Role Transfer Confirmation Dialog for the Naming Master role

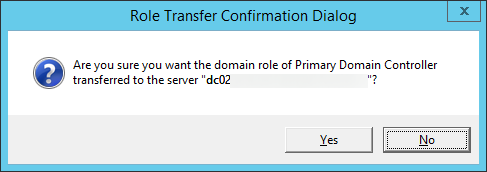
- Type transfer PDC and hit enter

- Click Yes on the Role Transfer Configuration Dialog for the Primary Domain Controller role

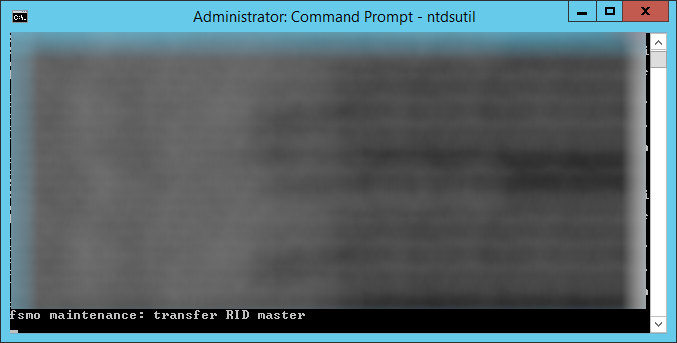
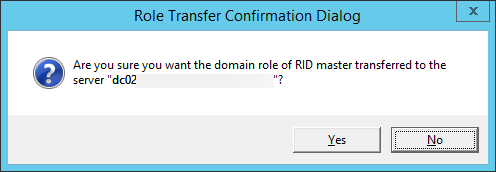
- Type transfer RID master and hit enter

- Click Yes on the Role Transfer Configuration Dialog for the RID master role

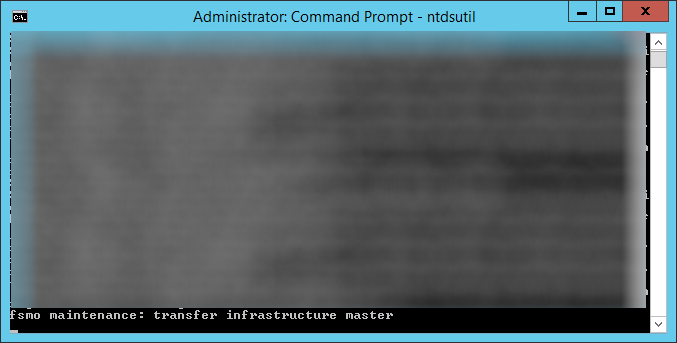
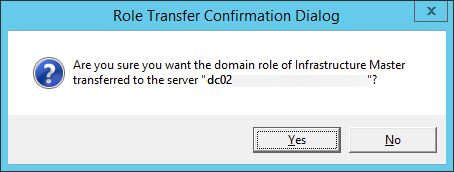
- Type transfer infrastructure master and hit enter

- Click Yes on the Role Transfer Configuration Dialog for the Infrastructure Masterrole

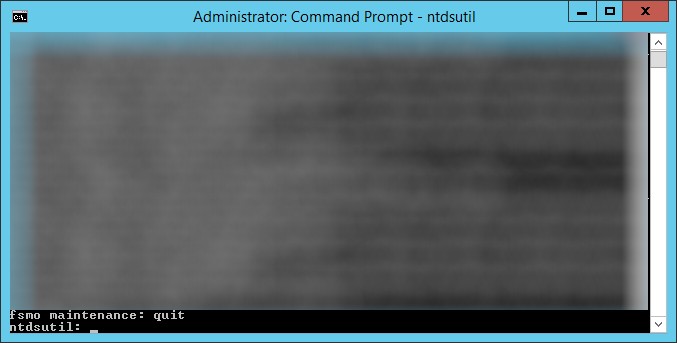
- Type quit and hit enter

- Type quit and hit enter

- Execute the following command to ensure the FSMO services are on the new Server 2012 R2 machine: netdom query fsmo

- At this point, you should have a Server 2012 R2 DC with the FSMO roles and a secondary 2008 R2 Domain Controller. If not, please go back and complete the steps to get to this point.


No comments:
Post a Comment